


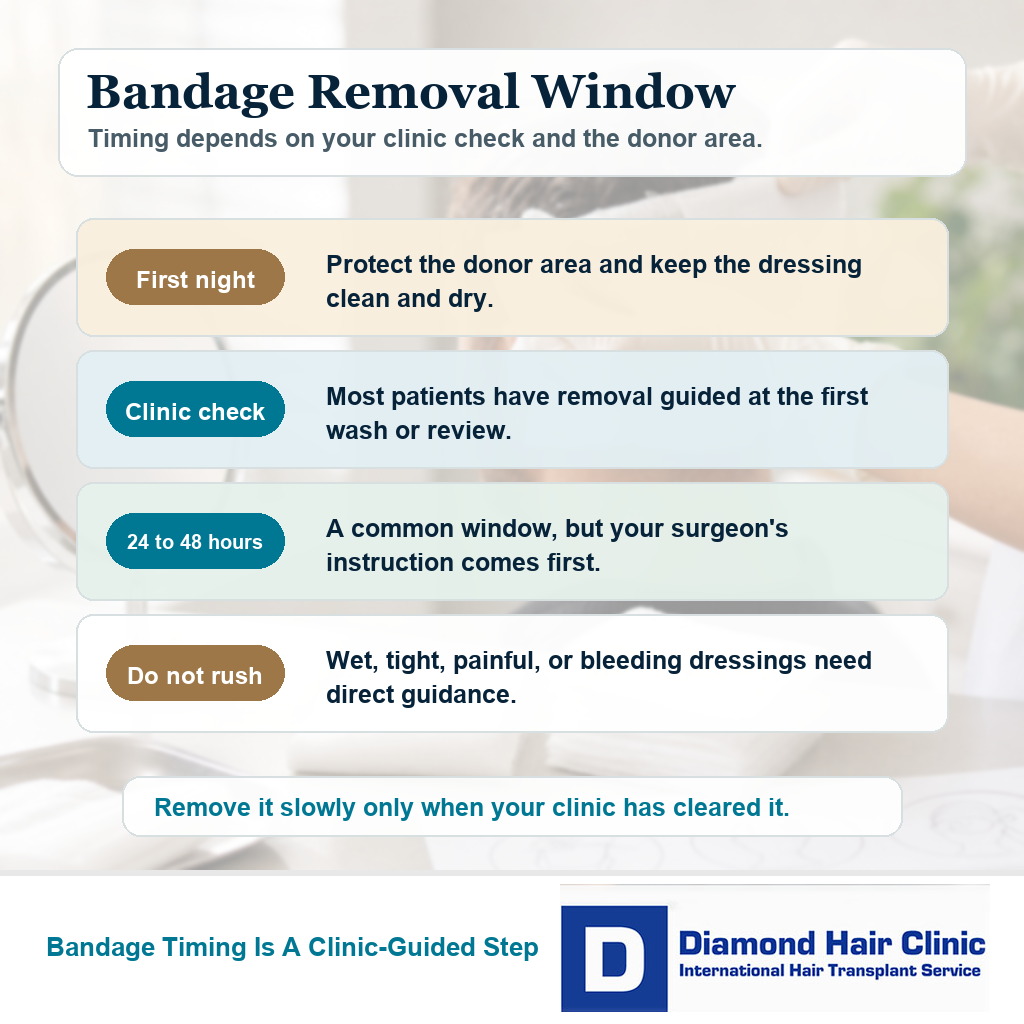
Bandage Removal Needs Clinic Timing and Gentle Handling
In most straightforward FUE cases, the donor area bandage is removed at the first clinic check, often within 24 to 48 hours after surgery. At Diamond Hair Clinic, I usually examine the scalp and perform the first wash 2 days after surgery, so bandage removal is treated as part of that controlled early review. Do not remove a tight, wet, bleeding, stuck, or painful bandage by guessing at home. The instruction should come from direct photo review or clinic guidance for your case.
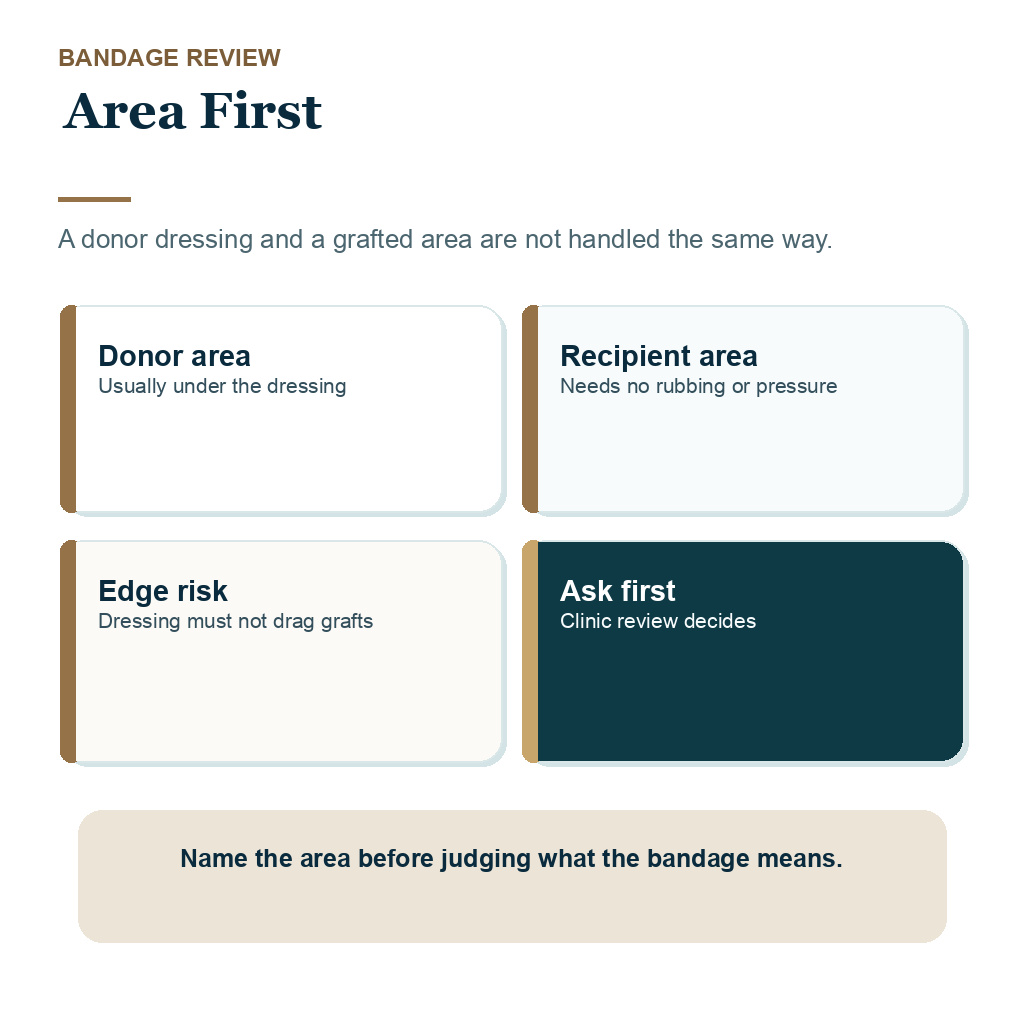
The bandage is usually protecting the donor area, not the grafted recipient area. That distinction matters. The donor area has many tiny extraction points. The recipient area has newly placed grafts that need air, gentle spraying or washing as instructed, and protection from rubbing or pressure. For that reason, clothing after a hair transplant should avoid tight collars, hoods, and pullovers during the early days. If you confuse the two areas, you may either overprotect the wrong place or touch the grafts too early.
Bandage removal is not meant to be dramatic. The right plan is clean, slow, and case specific. A small amount of dry blood on the dressing can be expected. Fresh bleeding that keeps coming, spreading redness, pus, fever, increasing pain, bad smell, or black skin change should be reviewed directly instead of being covered with another dressing.
The donor area is usually the area under the bandage
The donor area is where grafts are taken from the back and sides of the scalp. After FUE, that area has many tiny extraction openings. They are small, but they are still fresh surgical skin. The dressing helps absorb early oozing, protects the donor area from friction during the first night, and keeps the back of the head from rubbing directly on a pillow.
The recipient area is different. That is where the grafts are placed. In many modern FUE cases, the grafted area is not covered with a heavy bandage because the surgeon needs the grafts to sit undisturbed. The recipient area should not be rubbed, pressed, coated, or tested. If your clinic gives a special dressing plan for the recipient area, follow that plan exactly, because it means they saw something specific in your case.
I explain this distinction because it is easy to call every early scalp concern a bandage problem. The donor area may look red, dotted, or wet when the dressing comes off. The grafted area may look crusted, pink, or uneven. They heal differently and they should not be handled with the same pressure.
The donor area needs a separate explanation because grafts are taken from there and the zone must be protected over a lifetime.
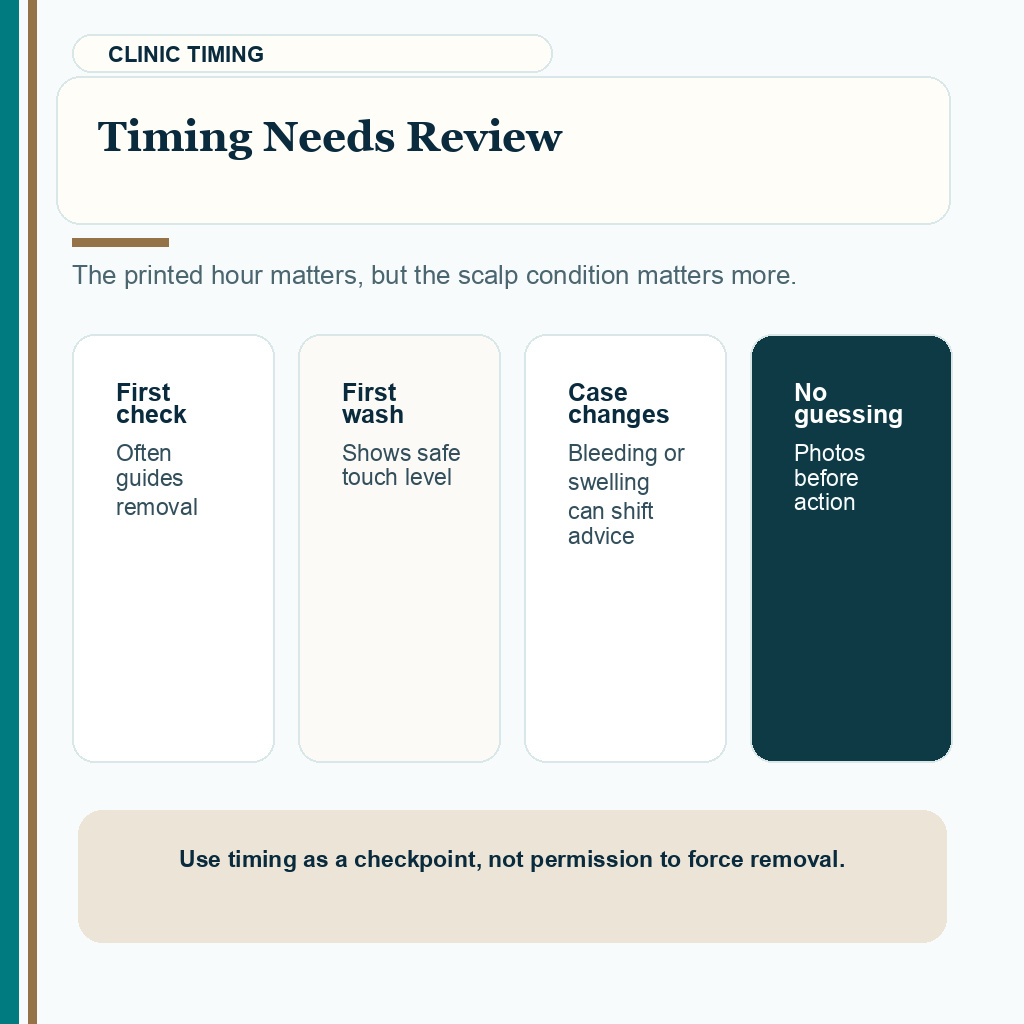
Safe timing depends on more than the clock
For many patients, donor bandage removal happens the next day or around the first clinic wash. At Diamond Hair Clinic, I normally perform the first wash 2 days after surgery, and that visit gives me a chance to check the donor area, the recipient area, swelling, bleeding, and whether the next steps are clear. That is safer than asking someone to make a rushed decision alone in a hotel room.
The exact timing can change. A small session with very mild oozing may not need the same dressing rhythm as a large session with more donor area bleeding. A long flight, poor sleep, medication, swelling, or continued oozing can all change the advice. The date matters, but the scalp matters more.
If your clinic told you to remove the dressing at a certain hour, use that as the main instruction. If the bandage is soaked, stuck, painful, slipping into the recipient area, or creating pressure, do not wait silently just because a printed sheet says tomorrow. Use photos in good light so the next step is based on the scalp, not only the printed hour.
Bandage timing and washing are connected. The first wash is also the moment when the clinic can show how much touch is safe. If you are unsure how washing progresses after the dressing is removed, judge the timing in context and keep that in mind with when you can wash hair normally after a hair transplant.
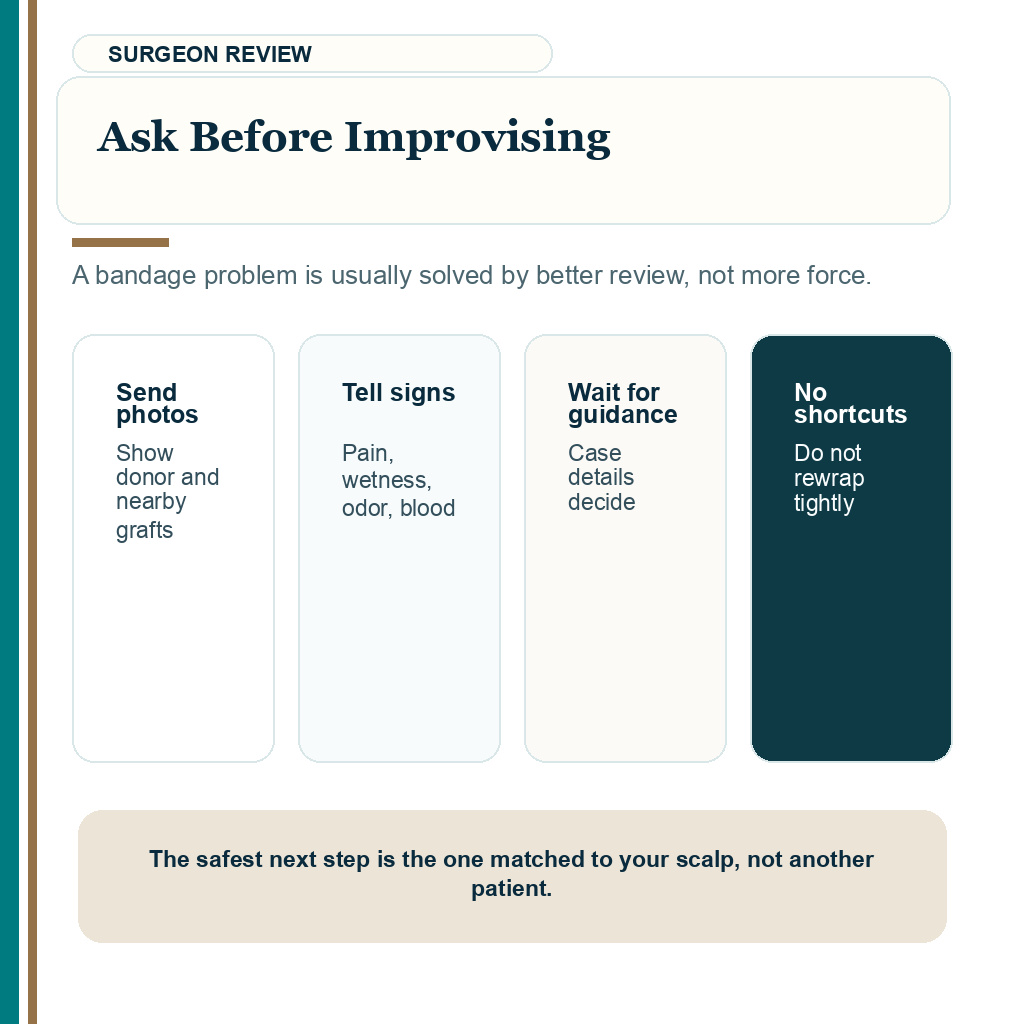
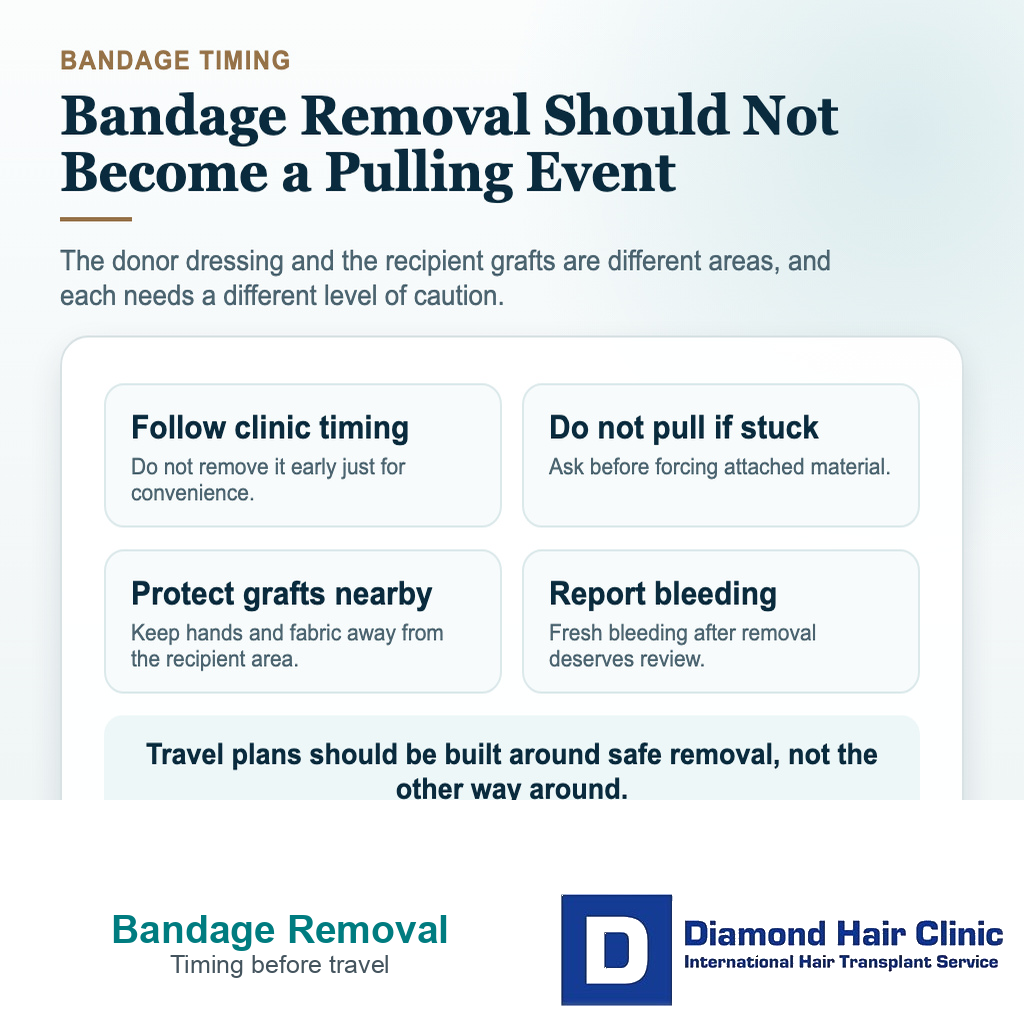
These 10 bandage-safety slides separate donor-versus-recipient area, clinic timing, loose bandage, stuck dressing, wet/tight/painful warning states, graft-edge protection, bleeding pattern, after-removal care, travel margin, and when to ask before improvising. Swipe sideways, use the arrows one slide at a time, or choose a number below the image.
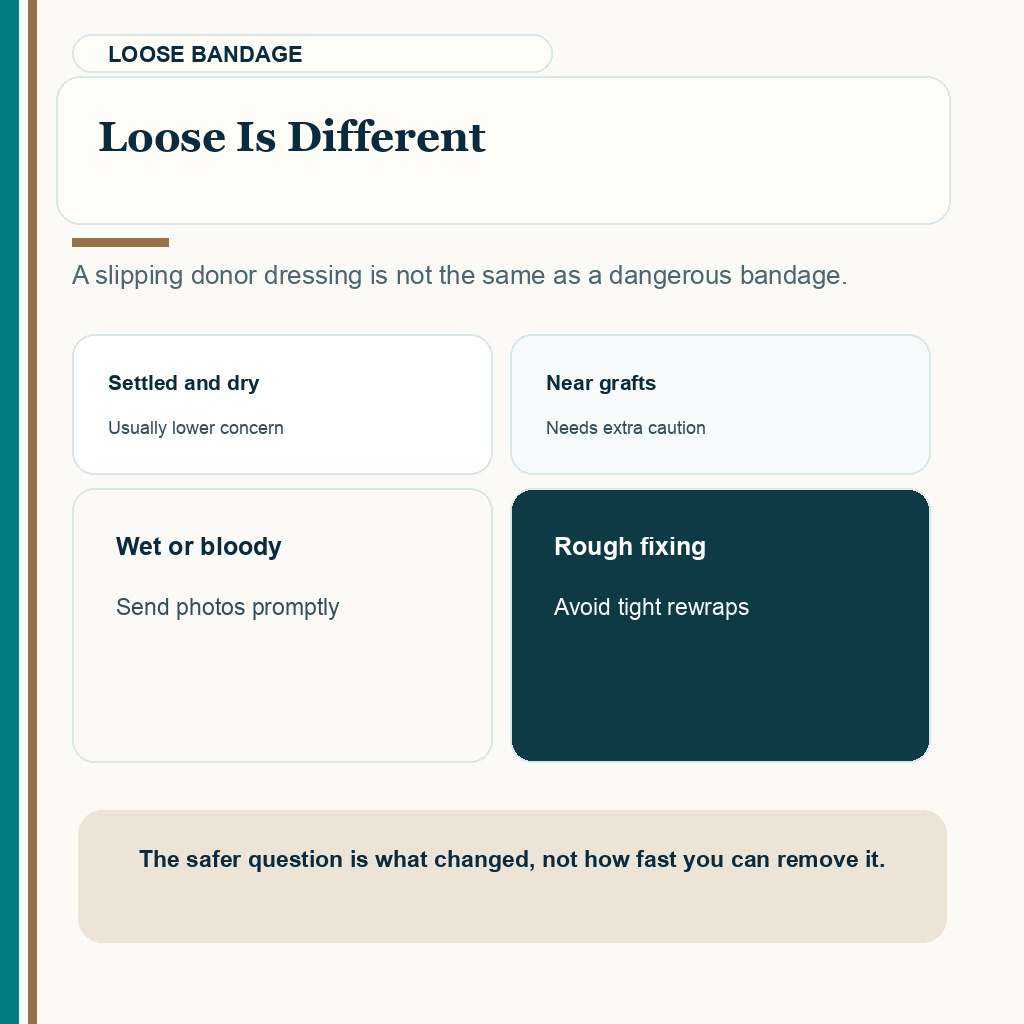


If the bandage loosens before the clinic check
If the donor bandage loosens before the planned check, do not pull it off aggressively and do not tape anything near the recipient area. Support it gently with clean hands, keep the scalp upright, and ask for instructions with clear photos if the bandage is slipping, wet, painful, or stained with fresh blood.
Before touching the dressing, wash your hands, sit in good light, and keep mirrors, towels, shirt collars, and phone edges away from the recipient area. Do not use scissors close to the scalp, do not add strong adhesive near grafts, and do not rewrap the head tightly unless the clinic gives that exact instruction.
A loose bandage is usually less dangerous than trying to fix it roughly. The recipient area should not be dragged, pressed, or brushed while you are adjusting the donor dressing. If the bandage falls away completely and the donor area looks dry and settled, the clinic may simply ask you to leave it open. If there is active bleeding, increasing pain, bad smell, discharge, or swelling that is getting worse, that is a different situation and needs direct review.
If the bandage is stuck
If a bandage has dried onto the donor area, do not pull harder to get it off. It can reopen small extraction points or make you twist the scalp suddenly. Stop, take clear photos, and ask the clinic whether the bandage needs softening, trimming, or removal during review.
If you are already at home or travelling, the safest instruction depends on the amount of bleeding, pain, swelling, and how firmly the dressing is attached. The wrong move is forcing it because the clock says it should be removed. The scalp condition matters more than the exact hour.
Recipient area dressings are different
Most routine FUE recipient areas should not be covered with a tight dressing. Fresh grafts need protection from contact, not pressure. A dressing that moves across the hairline or temples can create friction at exactly the wrong time. It may also hide bleeding, crusting, or a problem that should be photographed and reviewed.
There are exceptions. A surgeon may use a special dressing in selected situations, such as a repair case, bleeding concern, grafting into scar tissue, or a very specific recipient area protection plan. Do not copy another person’s aftercare because the dressing may have been used for a reason that does not apply.
When the recipient area is uncovered, it can look exposed. That can feel uncomfortable at first. Exposed does not mean unprotected if you avoid rubbing, pressure, sweating, dusty environments, and careless clothing contact. The early protection comes from behavior, not from wrapping the grafts tightly.
If your worry is whether the grafts themselves are already anchored, read our separate article on when hair transplant grafts become secure. It explains why the first days are more delicate than the later healing period.
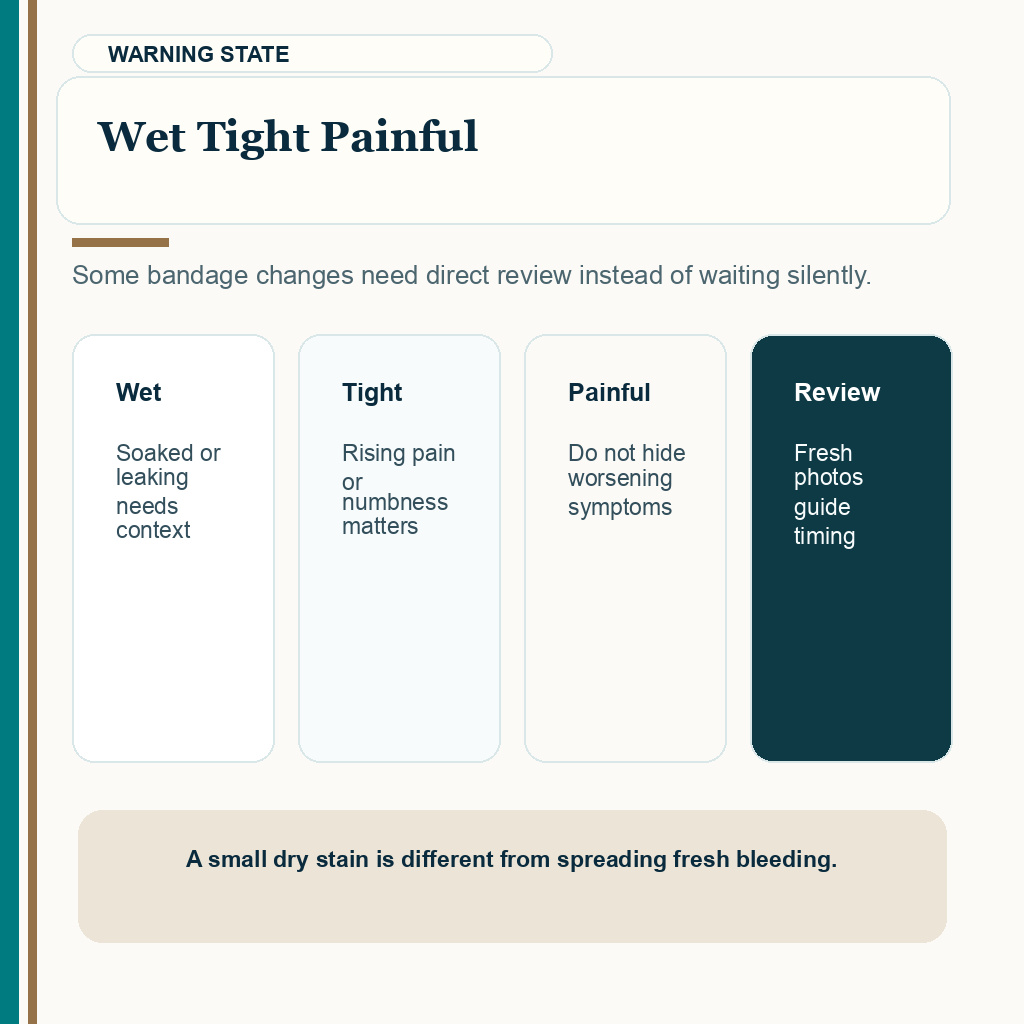
Tight, wet, or painful bandages need review
A donor bandage should not feel like a tourniquet. Some pressure can be expected in the first hours because the dressing is controlling oozing and staying in place while you sleep. Rising pain, throbbing, numbness, a bandage that feels too tight, or swelling that seems trapped below the dressing should be reviewed.
A wet bandage also deserves attention. A small dry stain is common after fresh donor extraction. A dressing that becomes soaked, keeps leaking, smells bad, or turns cloudy yellow or green should not be ignored. You may simply need a clean dressing or a clinic check, but the decision should come from photos and direct guidance.
The practical distinction is simple. A small dry stain is different from fresh bleeding that spreads. A little tightness in the first hours is different from rising pain, numbness, or trapped swelling. A bandage that is lightly attached is different from one that has dried firmly onto the skin. Those differences decide whether you wait, send photos, soften the dressing, or come in for removal.
If the bandage sticks, do not rip it away. Pulling hard can reopen donor points, create unnecessary bleeding, or scrape irritated skin. The clinic may ask you to loosen it slowly, moisten part of it, or come in for removal. The right next step depends on what the dressing is stuck to and how fresh the donor area looks.
Pain control also matters. If discomfort is making you pull at the dressing or sleep badly, review the medication plan rather than improvising. Not every pain reliever is suitable for every patient, especially when judging painkillers after a hair transplant.
Removing the donor bandage does not usually damage grafts
Removing a donor area bandage should not damage grafts if the bandage is truly on the donor area and it is removed slowly as instructed. The donor area is where grafts were taken from, not where the new grafts are sitting. The main risk is not that the donor dressing pulls out recipient grafts from the hairline. The risk is careless movement, rubbing, or letting the dressing drag across the grafted area.
Be especially careful around temples, frontal hairline corners, and any area where the dressing edge sits close to transplanted grafts. Do not lift the bandage upward across the recipient area. Do not lean the fresh recipient area against a mirror, towel, car seat, pillow, or clothing while you are focused on the back of the head.
If you accidentally brush the recipient area while removing the dressing, pause and inspect what happened. A light touch without bleeding is different from a scrape, forceful pull, fresh bleeding point, or a small piece of tissue coming out. That is the same distinction I use when judging whether it is safe to touch grafts after a hair transplant.
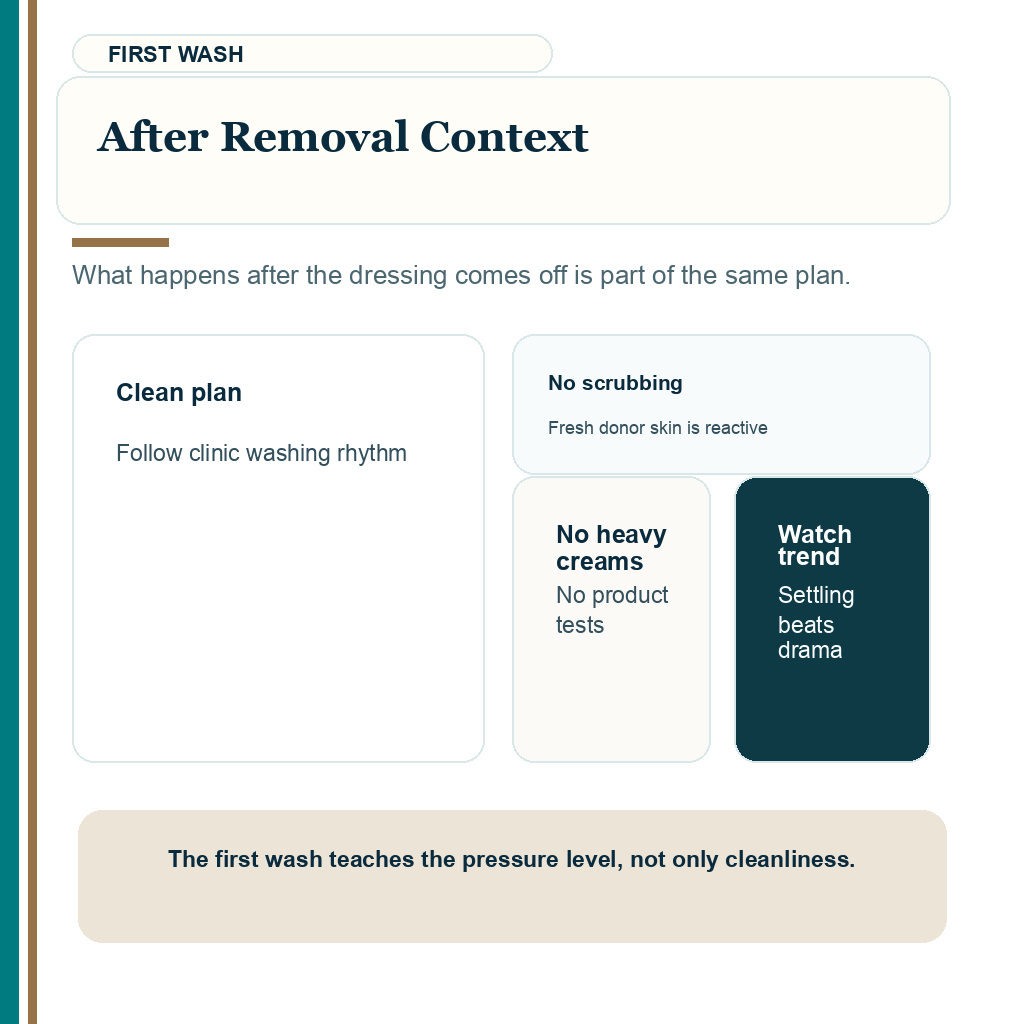
Steps to take after the bandage comes off
Once the bandage is removed, the donor area may look more dramatic than expected. The dots can look red. Some dry blood may be visible. The skin may feel tight or tender. That early appearance alone is not enough to judge whether the donor area will heal well. What matters is a pattern that is settling, clean, and consistent rather than worsening.
Keep the donor area clean using your clinic’s washing plan. Do not scrub it harshly. Do not cover it again with a tight dressing unless your clinic asks you to. Do not use heavy creams, oils, or sprays on the donor or recipient area just because the skin looks dry. Fresh surgical skin can react badly to unnecessary products.
Sleep with the head elevated if swelling is expected, and keep the donor area from rubbing aggressively on the pillow. If the back of the head is tender, adjust pillow height and position rather than pressing a thick towel or rough fabric against it. During sleep after a hair transplant, the method should protect the scalp during the first nights.
If swelling is your main concern, the dressing is only part of the picture. Forehead swelling usually follows a timing pattern and often peaks after the first day rather than immediately. The guide to swelling after a hair transplant explains what is expected and when it needs review.
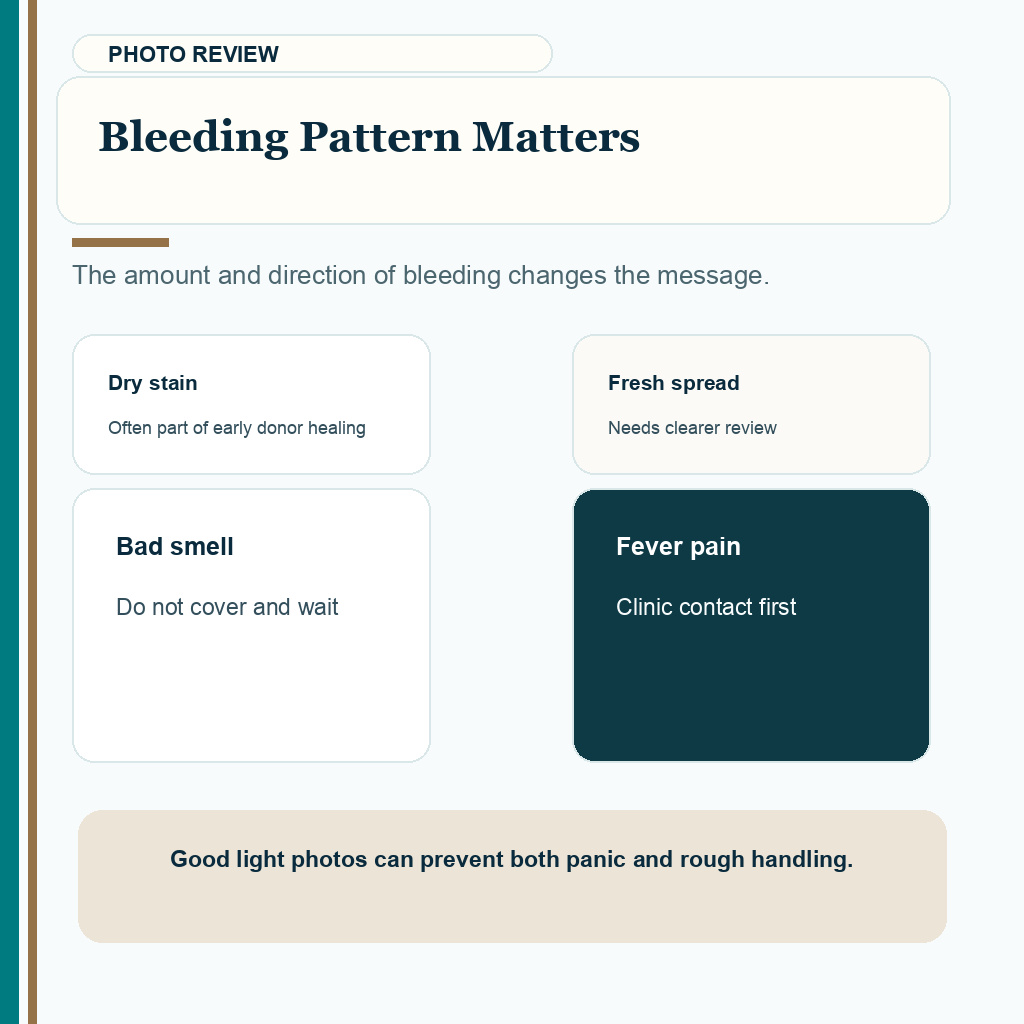
Warning signs that matter after bandage removal
Bleeding that continues instead of slowing needs review. If the donor area becomes increasingly painful, redness spreads beyond the extraction zone, the skin feels hot, there is pus or bad smell, fever develops, or any area looks black, grey, shiny, sunken, or open, do not manage it with another layer of gauze.
The same is true if you are not sure whether what you see is donor area oozing, infection, allergy to dressing adhesive, swelling, or early scabbing. A few clear photos in natural light can often prevent unnecessary panic. They also help the surgeon decide whether you need a simple instruction, a dressing change, a wash adjustment, or a closer examination.

For infection specific warning signs, infected hair transplant gives a fuller explanation. If the concern is dark tissue rather than ordinary scabbing, black scabbing and necrosis warning signs explains why that situation needs urgent review.
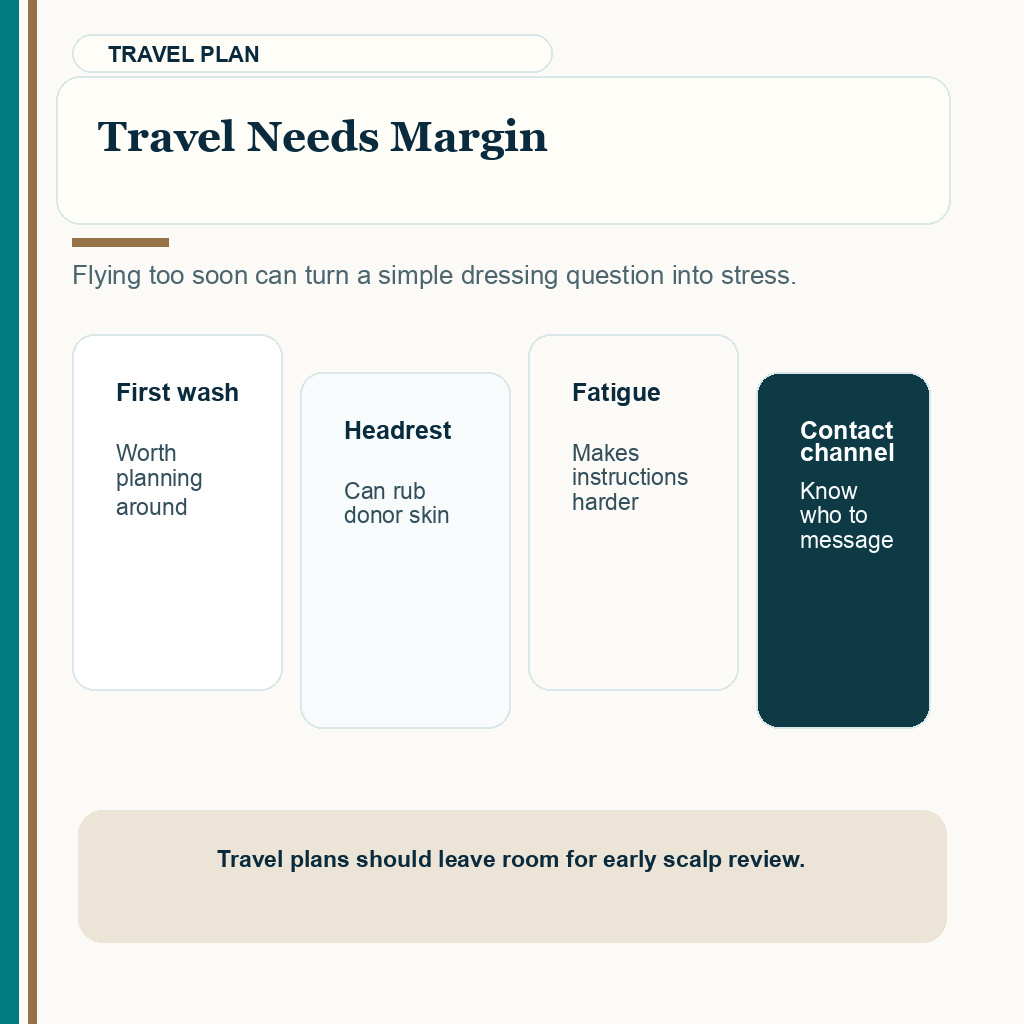
Travel should wait until bandage removal and first wash
International patients sometimes want to fly home as soon as possible. I understand the reason. Work, family, cost, and travel fatigue all matter. Still, bandage removal and the first wash are not small cosmetic details. They are early safety checks.
If you leave too quickly, you may remove the dressing alone, misread donor area bleeding, miss the chance to learn the correct washing pressure, or travel while swelling is starting. A long flight also creates practical problems. You may be tired, the donor area may rub against a headrest, and you may feel uncomfortable answering questions if the scalp is uncovered.
For many international patients, staying long enough for a proper first wash and final check is the safer plan. The early recovery schedule should be planned before flights are booked, especially when judging how many days to stay in Turkey after a hair transplant.
If your bandage is removed before travel, keep the donor area clean and avoid headrest friction. If your clinic asks you to travel with a dressing, make sure you understand when it should come off, what to do if it becomes wet, and who to contact during the trip.
Safest rule for bandage removal
The donor bandage is an early protection tool, not a test of courage. Removing it too early, too quickly, or without clean guidance can create avoidable stress. Leaving a problematic bandage on too long can also be wrong if it is wet, tight, painful, or pressing near grafts.
In a straightforward recovery, bandage removal is usually guided at the first clinic check within the first 24 to 48 hours. At Diamond Hair Clinic, that early step is connected with scalp inspection and the first wash at 2 days. The exact timing should still follow the individual case.
Do not judge the whole transplant from how the donor area looks when the dressing first comes off. Judge whether the healing is clean, settling, and consistent. If something looks worse instead of better, ask before adding pressure, ointment, or another dressing. A careful early check protects both the donor area and the grafted result.
For the broader sequence after surgery, use the clinic’s full aftercare instructions, then follow the specific advice given for your scalp.